Here's a more detailed breakdown:
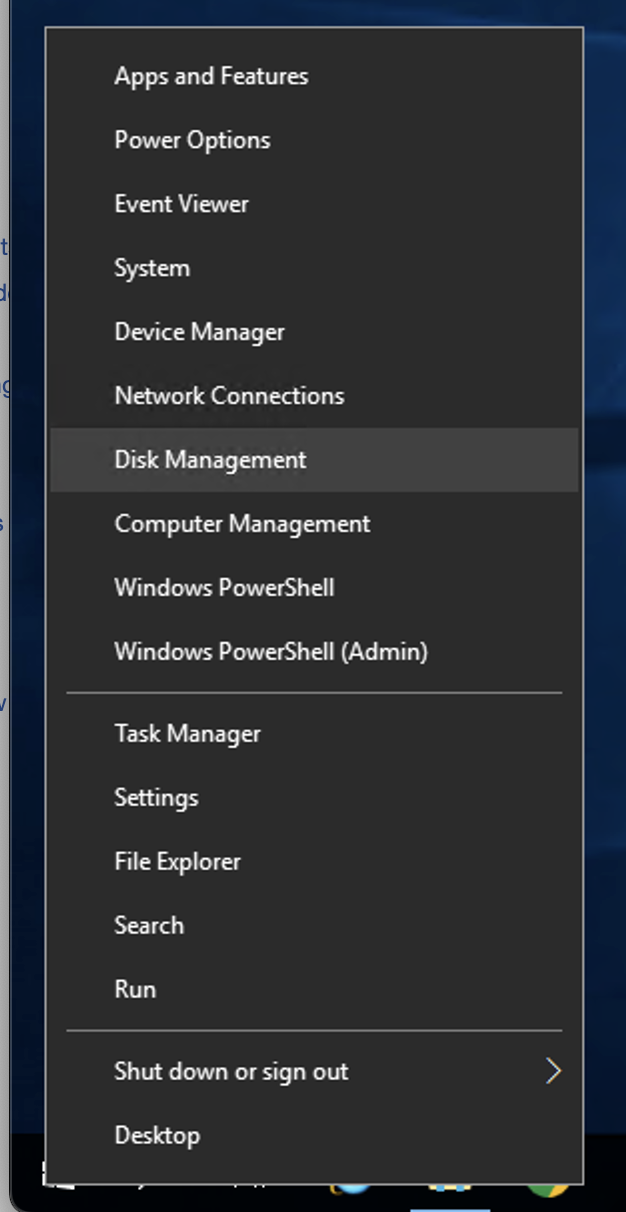
- Open Disk Management:
- Right-click on "This PC" (or "My Computer" in older versions) and select "Manage".
- Then, click "Disk Management" in the left-hand pane.
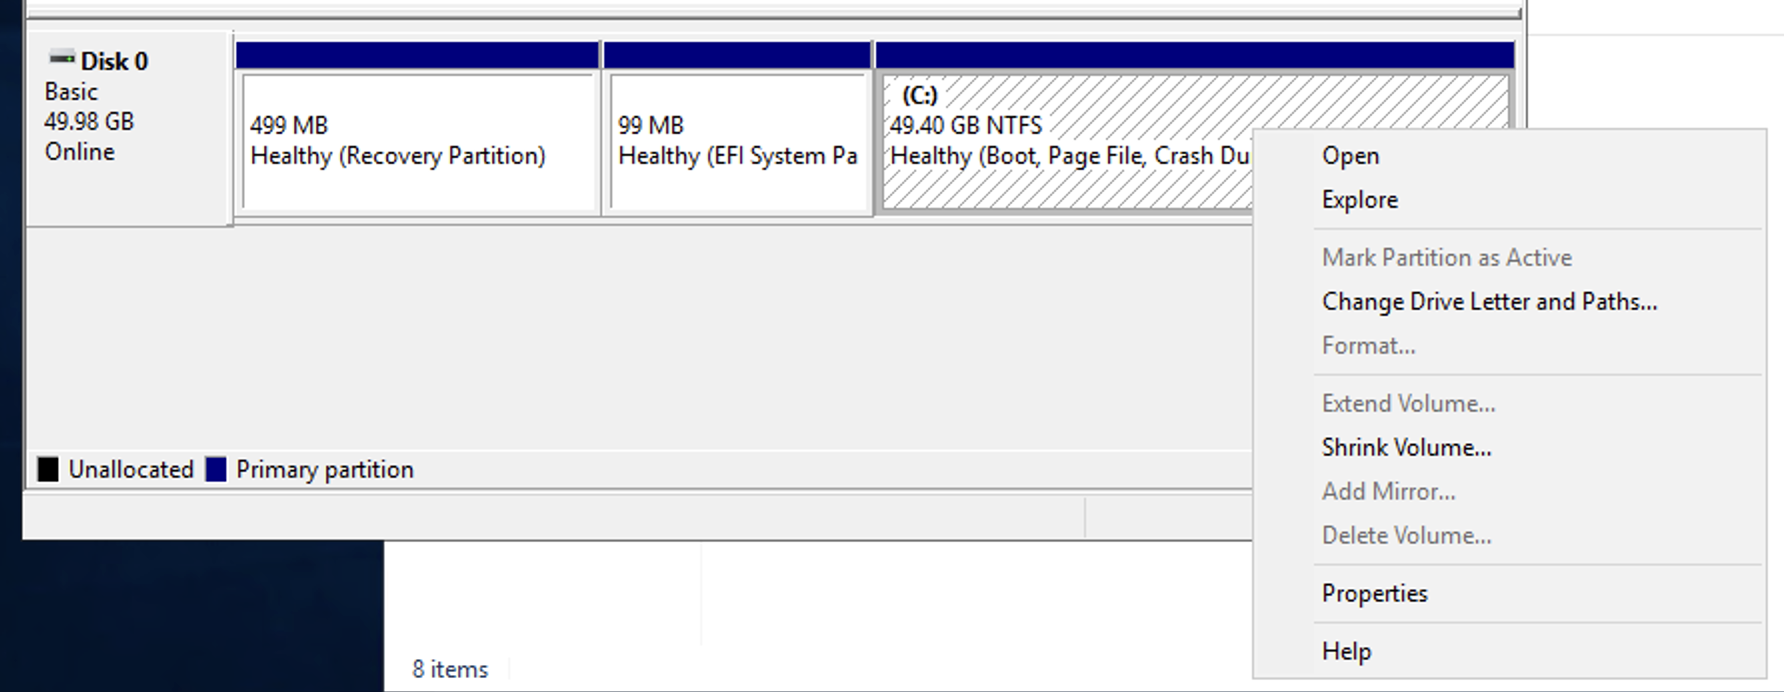
- Select the Disk:
- Identify the disk you want to shrink. This will usually be the partition associated with your operating system (often labeled as "C:").
- Identify the disk you want to shrink. This will usually be the partition associated with your operating system (often labeled as "C:").
- Initiate Shrinking:
- Right-click on the disk you want to shrink and select "Shrink Volume".
- Right-click on the disk you want to shrink and select "Shrink Volume".
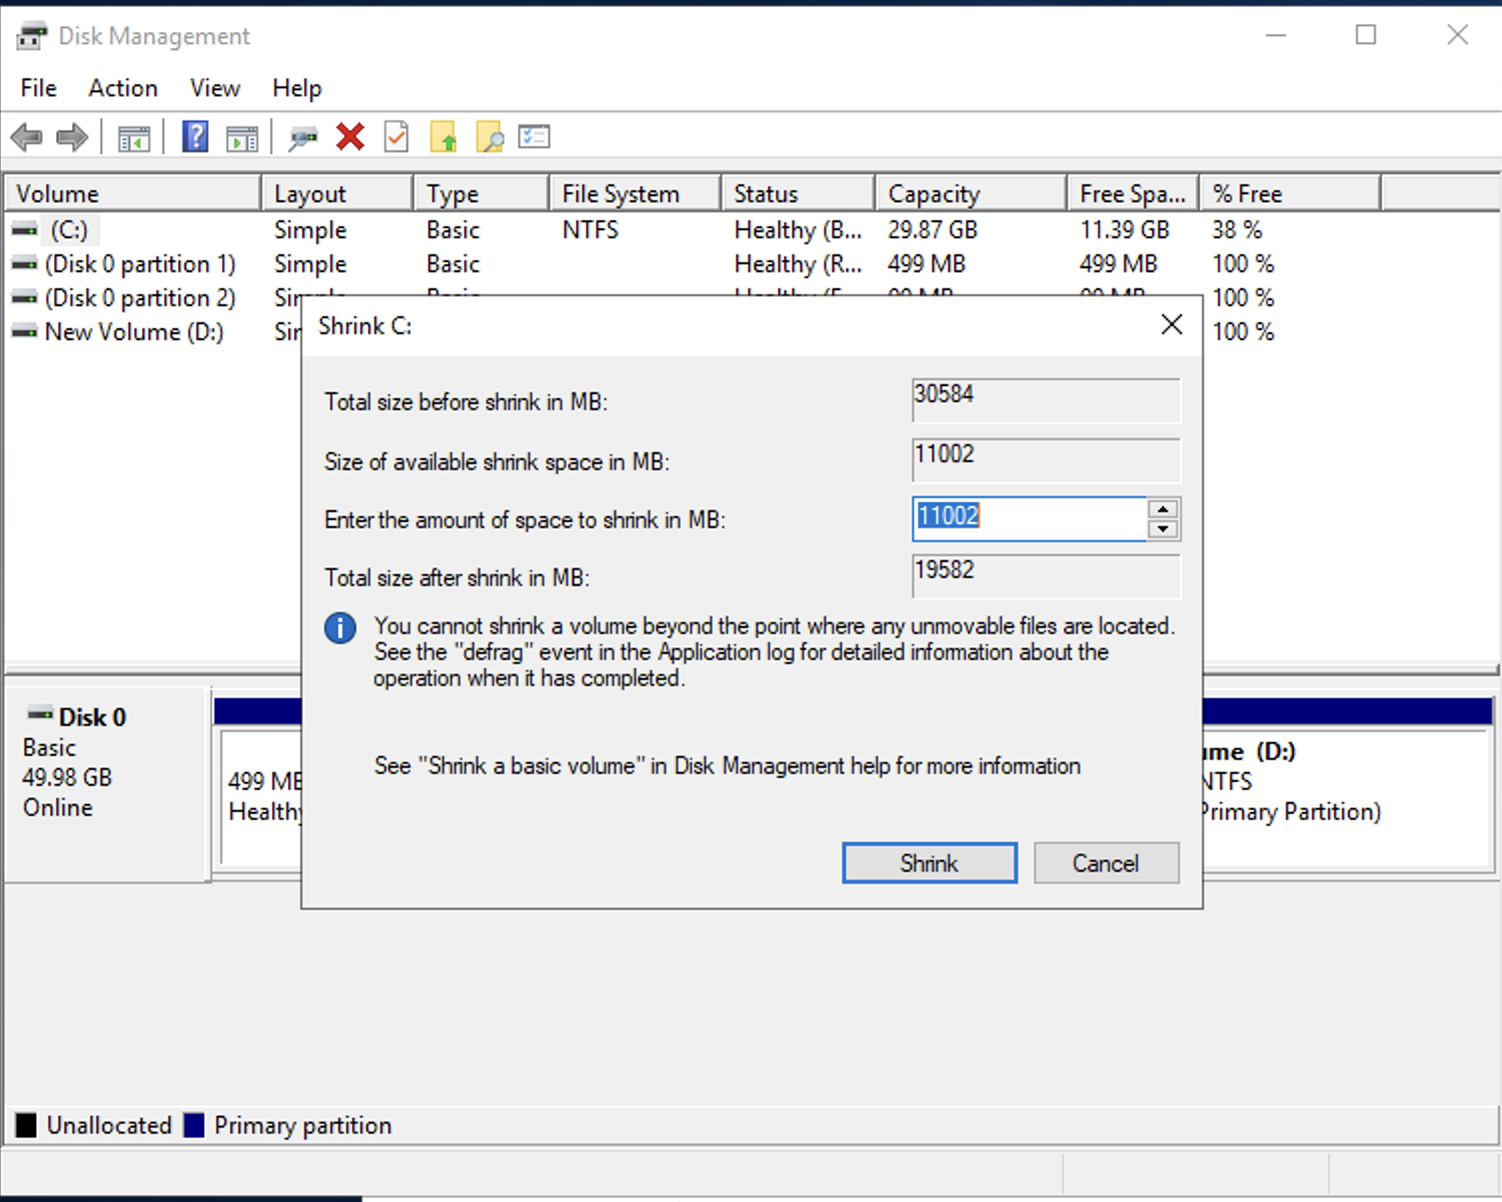
- Specify the Shrink Amount:
- In the Shrink Volume dialog box, enter the amount of space you want to free up in megabytes (MB).
- Disk Management will automatically calculate the maximum amount of space that can be shrunk. You can enter a value less than this if desired.
- In the Shrink Volume dialog box, enter the amount of space you want to free up in megabytes (MB).
- Confirm Shrink:
- Click "Shrink" to execute the operation.
- Click "Shrink" to execute the operation.
- Handle Unallocated Space:
- Once the shrink process is complete, you'll have an area of "Unallocated Space" that can be used to create a new partition or extended.
- Once the shrink process is complete, you'll have an area of "Unallocated Space" that can be used to create a new partition or extended.